Scene Generation Quickstart
Install one agent skill, then ask for scenes in plain language — "build a kitchen counter with a mug and a cocoa tin" — and get back a rendered, physically validated, versioned env you can keep editing with more prompts. This page is the install-and-use guide; the full method lives in the Scene Generation technical guide.
What the skill gives you
dreamlake-scene-generation teaches a coding agent (Claude Code, or any
Skills-compatible client) the complete scene workflow:
- Source assets from anywhere — download models from the internet (the MuJoCo Menagerie is the curated first stop for robots), use files you already have, author props procedurally as plain MJCF, or pull from a DreamLake asset library when one is available. The library is a convenience — hash-verified pulls and versioned reuse — not a required first step.
- Measure instead of guessing — bundled inspection tools read each model's real dimensions and bounding boxes, so objects rest on tables instead of floating above them or launching out of them.
- Validate the physics — a short simulation checks penetration, support forces, and that props stay where they were placed, with explicit per-body assertions rather than a vague "looks stable".
- Render and publish — camera renders for your eyes, then
dreamlake env pushpublishes a versioned env with an interactive browser viewer page, private by default. - Edit and reuse with more prompts — a published scene stays editable: the agent pulls it back, changes what you asked for, and pushes a new version; existing scenes can seed new ones.
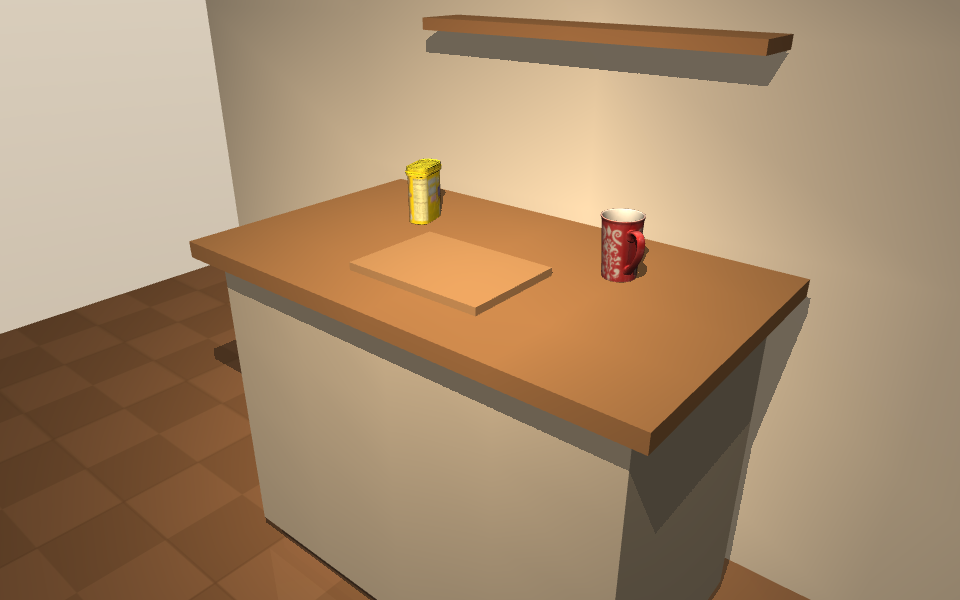
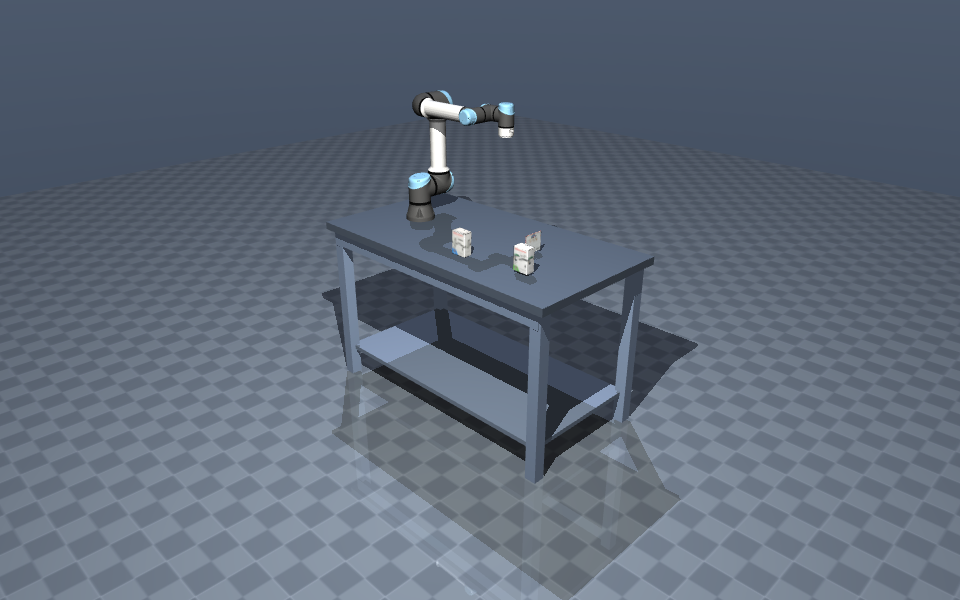
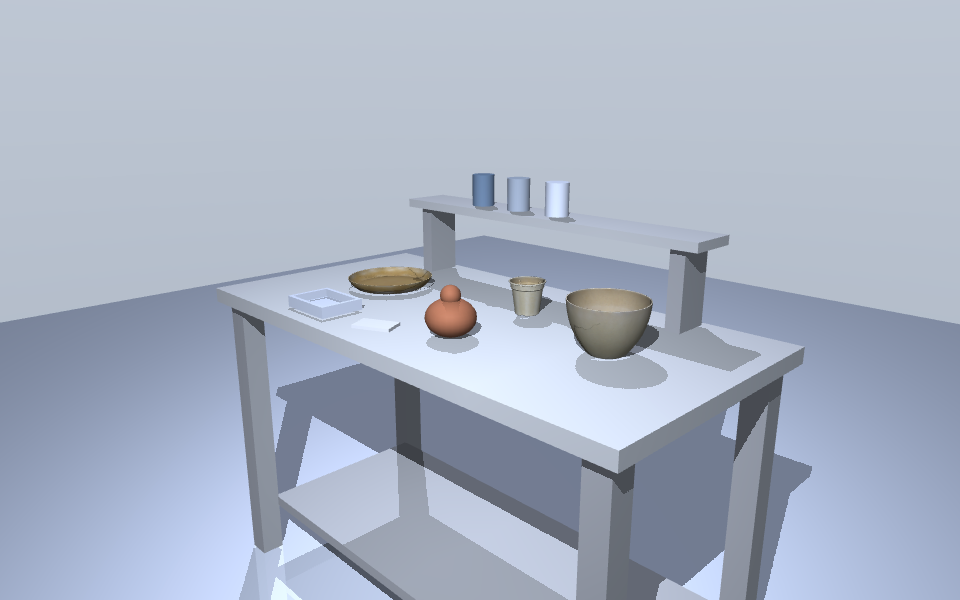
These scenes were produced by exactly this loop, from ordinary prompts, during the skill's evaluation runs:
Prerequisites
dreamlakeCLI ≥ 0.35, logged in (dreamlake login).- Python — how much depends on the route the agent takes:
- Raw MJCF scenes need only the skill's inspection/validation tools'
dependencies:
mujoco(≥ 3.2) andnumpy. The layer composer is optional — a scene authored as one self-contained MJCF directory is pushed directly, nodreamlake[compose]install involved. - Layer-composed scenes (
dreamlake env compose) additionally need the composer: dreamlake-py ≥ 0.23 with MuJoCo 3.14. Details in Scene Generation § Requirements.
- Raw MJCF scenes need only the skill's inspection/validation tools'
dependencies:
- An agent that reads Skills — Claude Code is the reference client.
A plain pip install "dreamlake[compose]" does not guarantee MuJoCo
3.14 — dreamlake 0.23.0 declares mujoco>=3.2 (0.23.1 raises the floor
to >=3.8), and composition fails below 3.8 either way. Use a fresh venv
with pinned versions (the validated combination: Python 3.11, dreamlake-py
0.23.x, MuJoCo 3.14.0, NumPy 2.x), and verify what you got:
Raw-MJCF-only setups can install just pip install "mujoco==3.14.0" numpy
into the venv instead.
Install the skill
The skill is distributed through the public
dreamlake-skills
repository. Each top-level directory there is one complete, self-contained
skill folder — SKILL.md, action guides, the runnable tools/, and the
generated reference pages. Install the whole folder, and symlink
rather than copy, so a git pull in the checkout updates the installed
skill:
If your clone predates this skill, git -C ~/dreamlake-skills pull --ff-only
first; a checkout that already carries dreamlake-scene-generation/ works
as-is.
Keep the trailing slash on the destination: ln -s <src> ~/.claude/skills/
refuses to clobber an existing entry of the same name. If ln reports
File exists, inspect the existing skill and preserve local edits before
replacing it.
Updating safely. Because the install is a symlink, updates are just
git -C <checkout> pull --ff-only. If you have customized the skill,
commit your edits on a local branch first and git pull --rebase (or
merge) so an update can never silently overwrite them — never edit an
uncommitted working tree you also pull into.
The agent discovers the skill from its frontmatter and picks it up when a scene request matches — no registration step.
Use it — ordinary prompts
No special syntax. Describe the scene, name the outcome you want:
Create:
Build a breakfast table scene — a wooden table with two mugs and a bowl resting on it, warm lighting, a nice camera angle — and publish it to my namespace as
breakfast-table.
Edit (a published scene stays editable — same name, new version):
In
breakfast-table, move the blue mug 10 cm to the left, dim the key light a little, and push the result.
Reuse (an existing scene can seed a new one):
Start from
breakfast-tableand add a robot arm from the MuJoCo Menagerie on a stand next to the table. Publish it asbreakfast-robot.
Behind each prompt the agent runs the loop from the technical guide: source and verify assets, measure, derive placements, compose, validate physics, render, push, and report the version it published.
What a finished run leaves you
Ask the agent to keep the reusable deliverables with your project, and treat everything else as disposable scratch:
Keep — this is what makes the scene editable and auditable later:
- The editable source — the layer stack (
dreamlake.layers.json) for composed scenes, or the authored MJCF directory for raw scenes. This is what edits are made to; the pushed env embeds a pinned copy. - Per-model provenance — for every third-party model: the exact source
URL, version or commit, and its license (Menagerie models each carry their
own
LICENSEfile — record each one, not one blanket note). - Component envs — base room and props published as their own pinned versions, when the composed route was used.
- Initial state — prop poses live in the stack (
Attachpos/quat); an articulated opening pose is a keyframe block kept in a file beside the stack and re-applied after every recompose. - The published env itself — the compiled entry XML plus all assets, at an exact version from the push receipt.
- Renders and the validation report — the images you approved and the physics evidence behind the version.
Disposable — scratch pull directories, intermediate compose attempts, validation JSON from rejected layouts, probe scenes: safe to delete once the version is published and verified.
Preview in the browser
Every pushed env gets an interactive viewer page — open the link the push prints, look at the framing and materials, and play the simulation (Envs guide).
Generate from the env page
Scenes can also be created and edited in the browser, from a chat panel next to the 3D viewer. This flow ships with the web app: it needs an app deployment that includes env chat, so if your env page does not offer the chat panel yet, that deployment hasn't reached your server — prompt your local agent and use the browser to inspect the result instead. How it works:
- Open your namespace's Envs catalog (
/<namespace>/envs) and click + new env (members only) — it sits in the page header next to the Environments/Libraries switch, and an empty catalog offers the same button in its placeholder. - One click opens the env page as a draft under an auto-minted name
(
env_xxxxxx) — there is no name dialog, and nothing is created on the server yet. - Describe the scene in the intro composer the draft opens into ("a
breakfast table with two mugs and a bowl…"). The prompt goes to the
embedded agent, which runs the same skill workflow — source, measure,
compose, validate — and publishes with
dreamlake env push. The chat opens in Auto permission mode so this runs end-to-end without per-command approval; switching the composer to Ask/Plan makes it a read-only conversation (no generation, no push) until you switch back. - When the first push succeeds, the page swaps the draft placeholder for the saved preview: the interactive viewer on the version that was just pushed, with the chat still open beside it.
- Keep prompting to edit — each successful push adds a version. The viewer follows the latest version; picking an older version from the header dropdown pins it (a "vN available" button jumps back to latest).
- Edit an existing env the same way: open its env page (as a member) and use the chat panel beside the viewer.
- Reuse starts from the catalog, not from the source env's page. The
chat edits the env whose page it sits on — a "start from
breakfast-tableand add…" prompt onbreakfast-table's own page pushes new versions ofbreakfast-tableitself. To grow a new scene out of it, go back to the Envs catalog, click + new env, and prompt in the fresh draft: "Start frombreakfast-tablev3 and add a robot arm…". The new env references the source at that pinned version;breakfast-tablekeeps its own versions, untouched.